Friday, June 24, 2016

Cabinet work

The cabinet that lines the very front of the camper needs a good bit of attention.  More rotten wood - this was a particle board trim at the base where the folding table nestles into the cabinet.  Since it was on the floor level, it must have soaked up some moisture and was ruined.


So we glued three thin pieces of plywood together to achieve just the right thickness and Duane duplicated the cut.


And there it is, installed.  I won't bore you with the layers of new stain that I applied since it's identical to the other cabinetry.


Wednesday, June 22, 2016

Settee repair

The passenger side settee frame was badly damaged by the wet floor.

So - the rotten area had to be removed!


Neatly sawed off the offending area.


And ready to put in replacement boards.  First, a thin plywood that is the same thickness as the original panel.   The moldy looking framework is actually in OK shape structurally, so it remains. 


Glued and nailed in place.


Next, a sanded poplar board overlaps the patch.


Same treatment for the side and front.  These areas were not really rotten, just discolored.


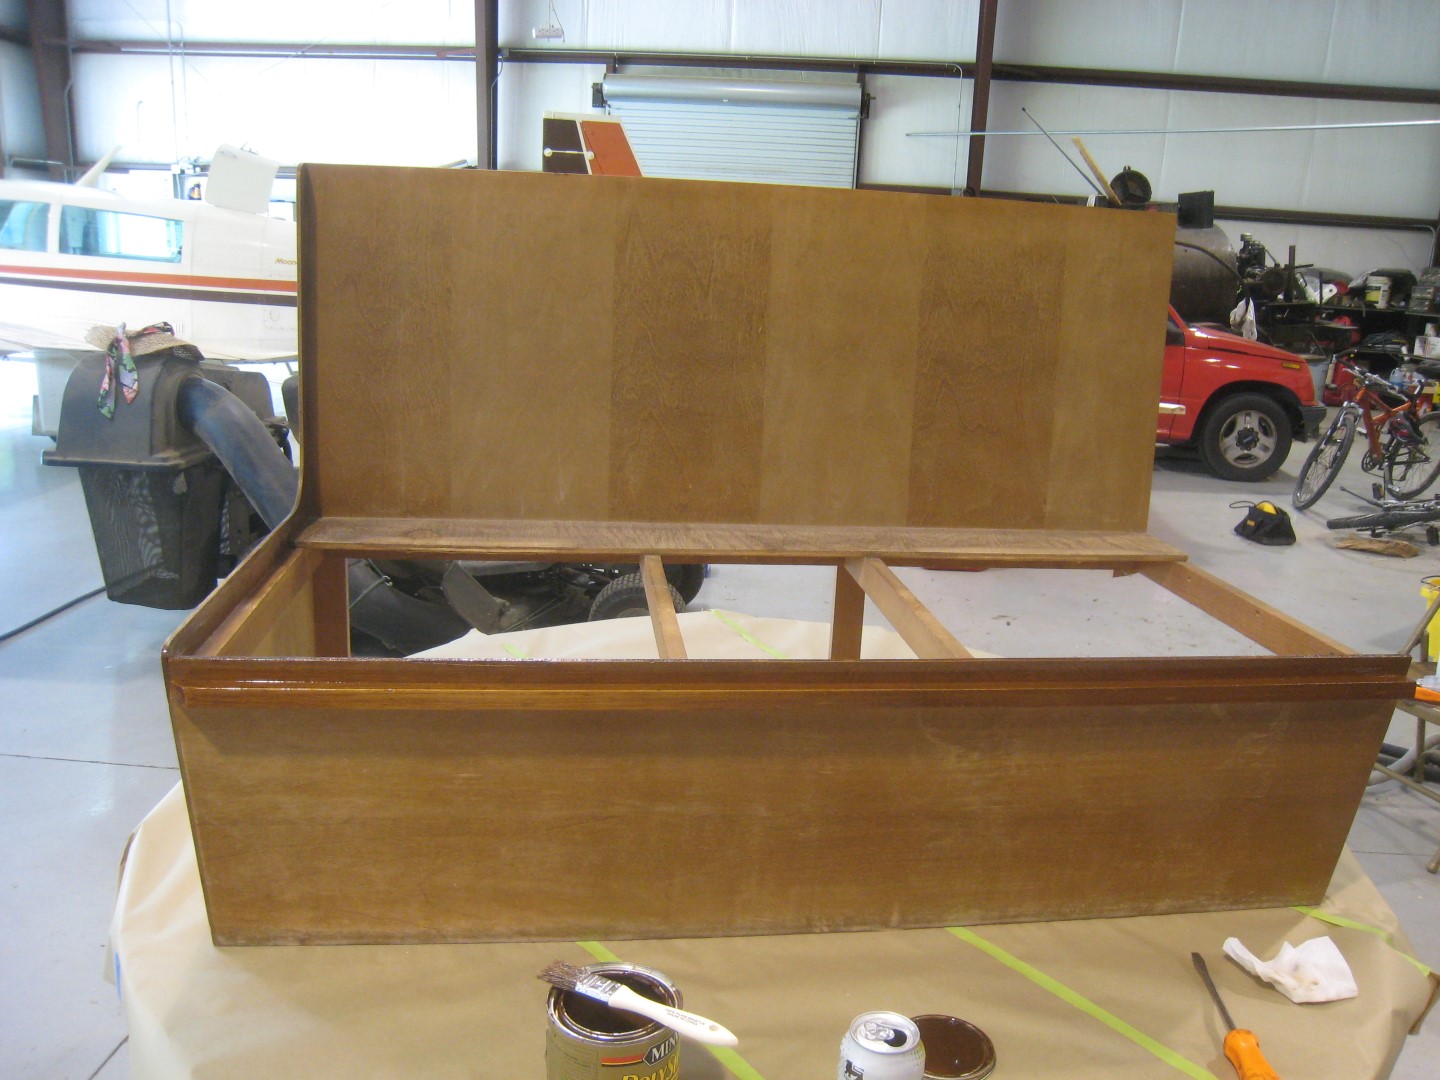
After the glue dried, starting to add stain to blend it all together.


The back of the settee will be against the wall and not really visible.


First coat of stain - if you didn't know better, you'd think the settee was designed with the molding in place!


Saturday, June 18, 2016

Furniture

We had originally said we would not re-use the existing furniture for the front of the trailer - thinking that two small recliners would be more comfortable.  But we decided that maybe going back with the original might be the correct course.

The "driver's side" settee is in pretty good shape.  Just mainly dusty and faded.  

The "passenger side" bench, however has a good bit of "rot" at the base due to the wet floor.  It will require some re-build.

Here is the "before" photo as it was when we picked up the trailer.  Cushions are absolutely new - I've stored them (and all the fabric items) in the guest room closet in the house so they wouldn't deteriorate.


So, I addressed the "easy one" first!


Cleaned up, light sanded  and ready for polyurethane.


First coat -  4 coats eventually.


Last coat - outside to dry in the breeze.  This photo looks a little "redder" than it really is.


Friday, June 17, 2016

Axle work completed!

Duane figured out what Monroe shocks to get as replacements for our 30-something year old ones.  It was not a simple task - the p/n's that were stamped on the cylinders of the old ones are not longer made and apparently don't cross reference to modern shocks....I know - spent hours with the parts manager at the local parts store.

Anyway, if you're remotely interested - it's Monroe 5751.....

Everything installed -


And the trailer is sitting on it's own wheels for the first time in a very long time!!!


Saturday, June 4, 2016

More axle work

Much painting has been accomplished! 


Rust has been grinded....and "rusty metal primer" has been applied to the undercarriage.


The axles are all nicely prepped for re-installation


And the undercarriage has a nice black top-coat applied.


Axles re-installed!


View from under the trailer:

I know it doesn't look like much, but all these nice black axles were ALOT of work!!!  Hopefully they'll be ready for 40 more years of work!!


And in case you're wondering what we look like after a long day of working on the trailer.....Diane visited this afternoon and snapped this photo of me.   Sweet, right?


Thursday, June 2, 2016

Axle removal

Did a bit of work on the axles - they are a bit rusty but in good shape otherwise. 


Same for the tires/wheels.  Tires are virtually new - a couple of hundred miles on them and they've been inside the hangar/out of UV.  The rims are just a bit rusty.


So, after a bit of wire brush rust removal, they're ready for some "Rusty Metal Rustoleum"!


Same for the axles themselves.  Rusty, but in good shape otherwise.


Brakes appear to be in good shape also.


I know it doesn't look too much different....but much paint has been applied!


Duane disassembled the axle for ease of painting and inspection.


 More painting.


And, next day starting to paint everything with more Rustoleum  - this time all black so it looks good when reassembled!